My Home Server Setup: Linux, ZFS, Hot-Swap and overkill
Quick overview of my home lab.
Blog Post Overview
My Home Server
The Evolution of a Home Lab
My story with Linux and servers started with a Raspberry Pi - that tiny computer that promised endless possibilities. I cycled through several models, each teaching me something new about Linux, networking, and the joy of owning your digital infrastructure.
As my needs grew, so did my hardware. Mini PCs came next, each more capable than the last. What began as curiosity evolved into a passion, and eventually, I found myself acquiring something I never thought I’d own: a proper enterprise server.
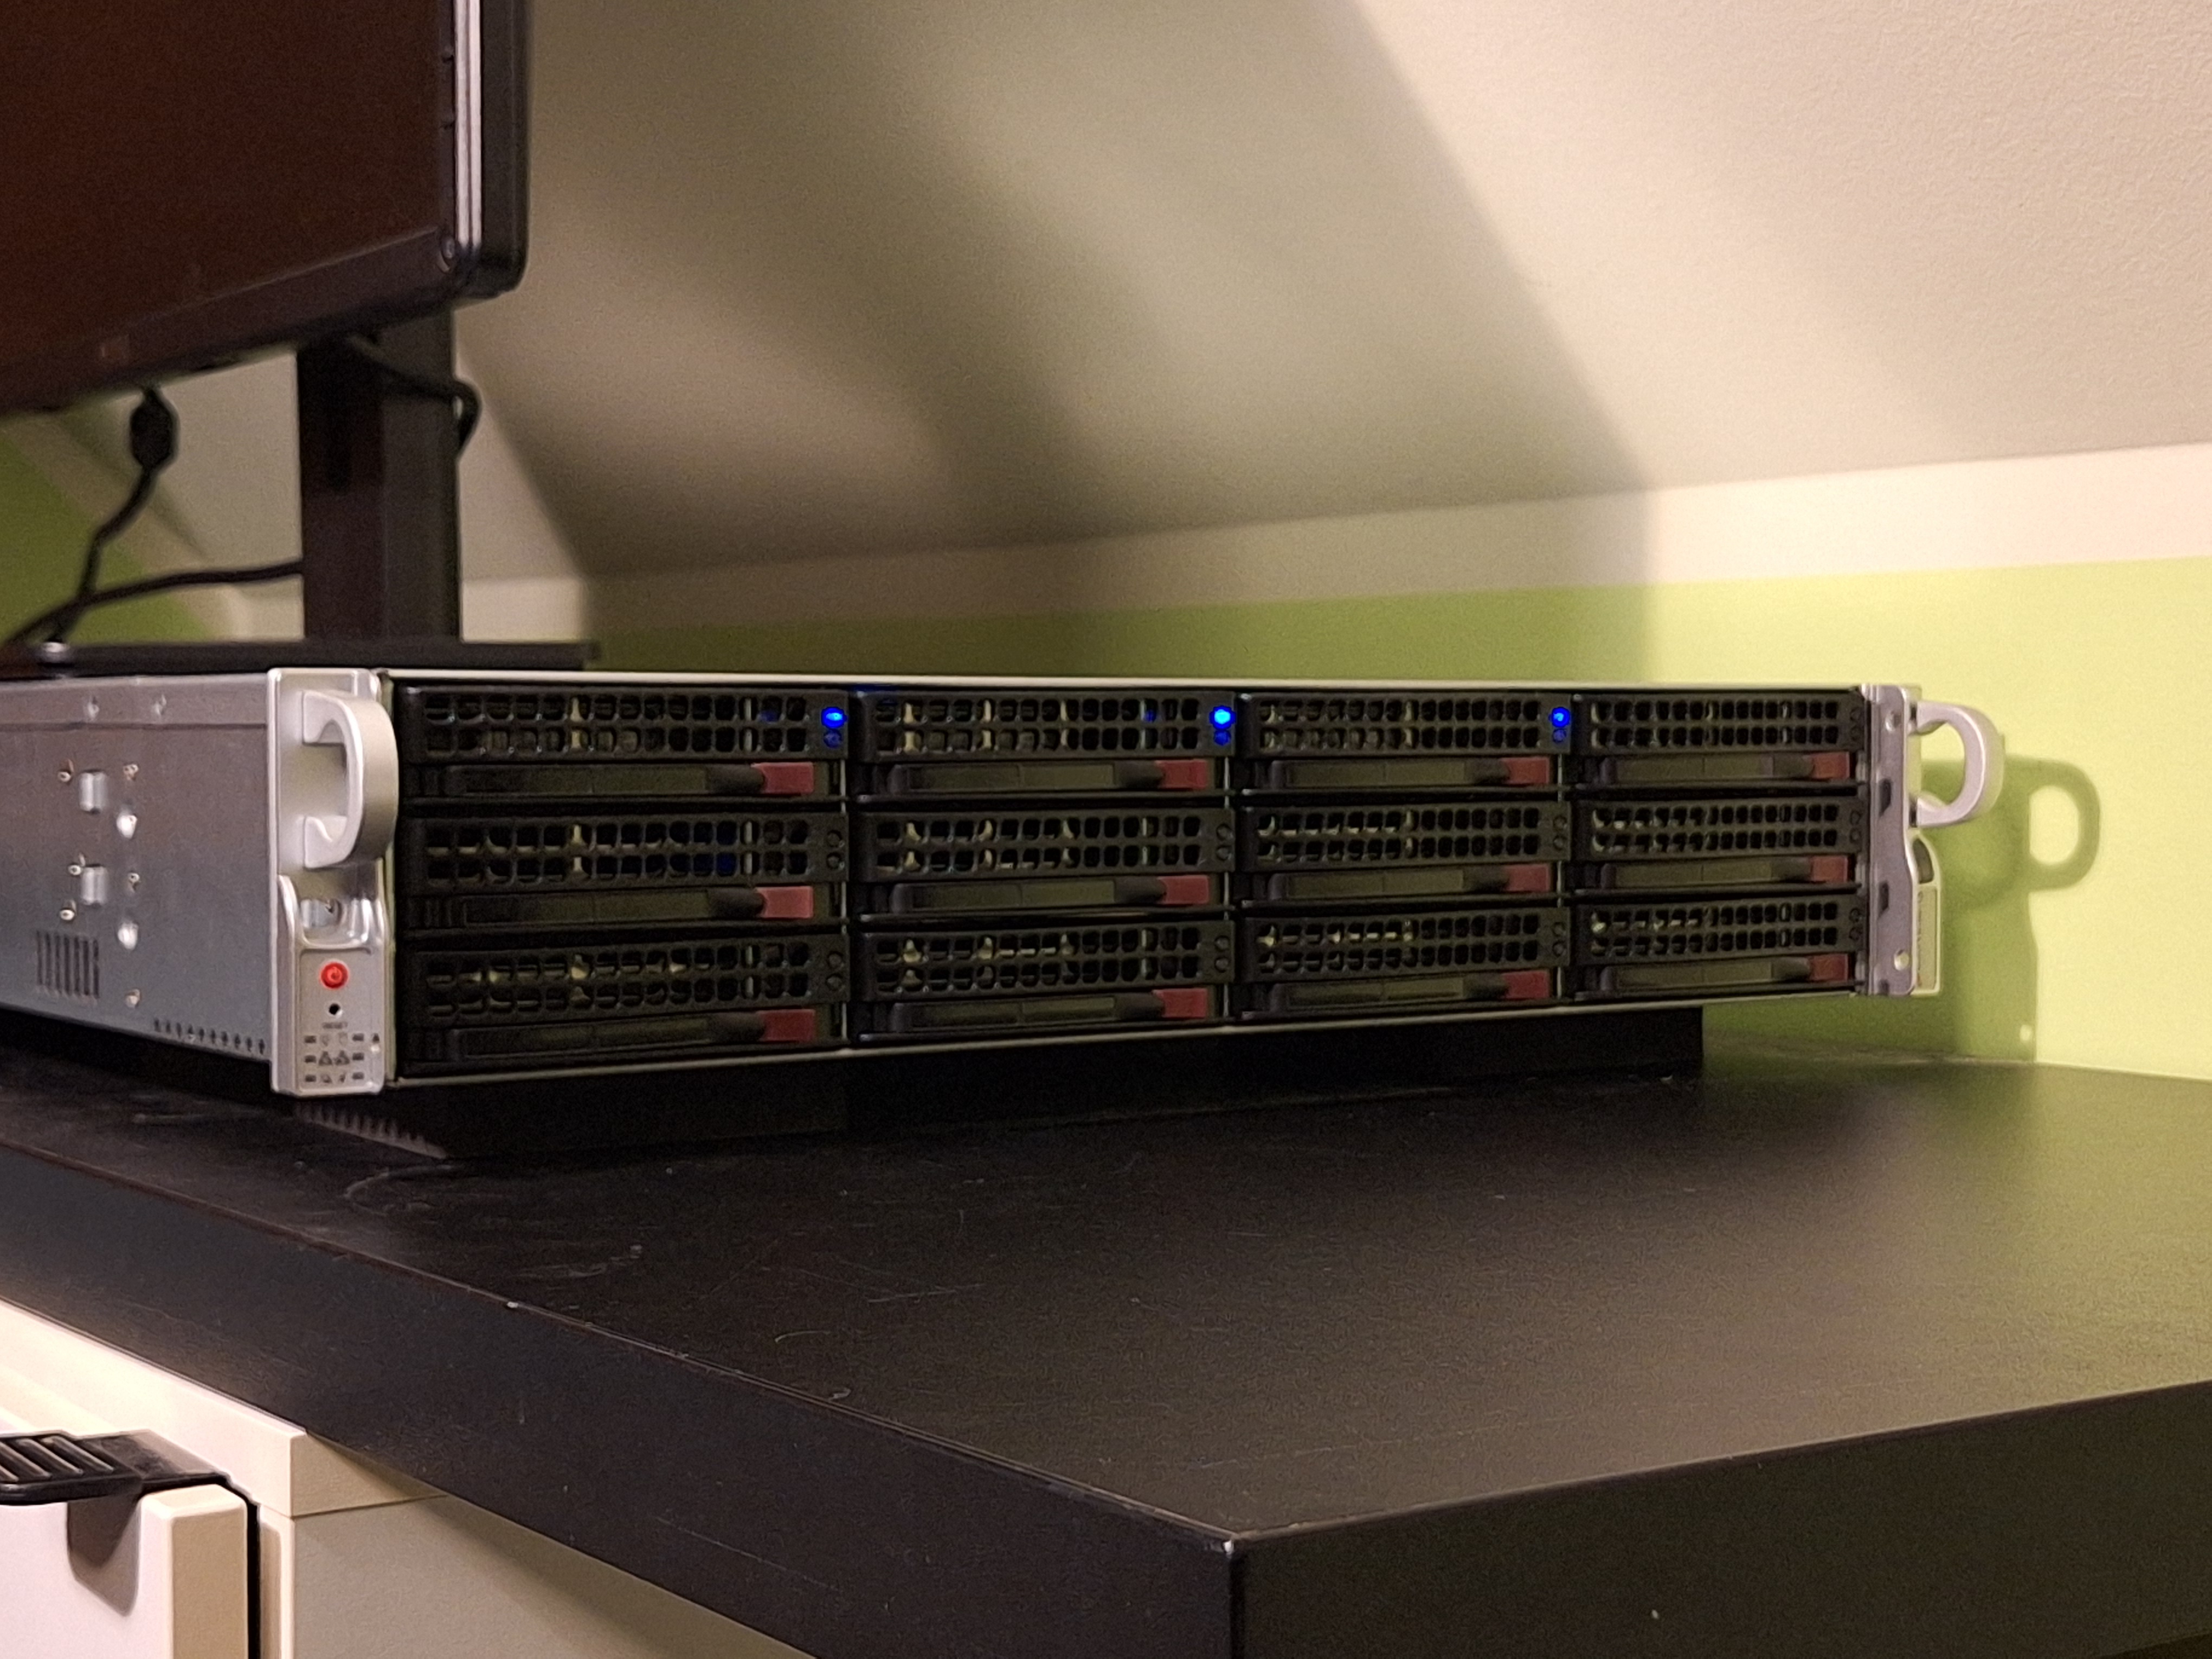
The Current Setup: Supermicro CSE-826
My server now lives in a Supermicro CSE-826 chassis - a 2U rackmount beast built for serious work. For years, I dreamed of hot-swappable drive bays. Why? Because HDDs fail. A lot. Especially in my setups. There is something uniquely frustrating about powering down an entire server, opening the case, and swapping a failed drive while your services are offline. Fortunately, backups always saved me, but the downtime was painful.
With the CSE-826, those days are over. The chassis features 12 hot-swap 3.5" drive bays in the front and two additional 2.5" bays in the rear. After years of dealing with traditional cases, having proper HBA controllers and backplanes feels almost magical.
 CSE-826
The Hardware Upgrade: Chasing Efficiency
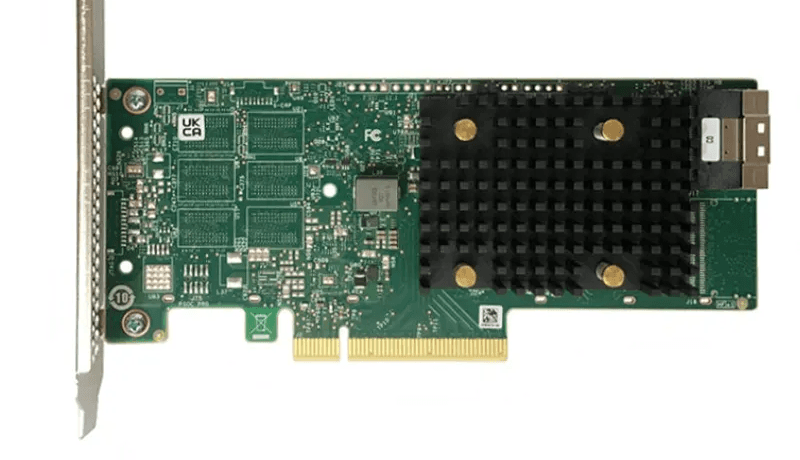
Recently, I overhauled the internals to modernize the storage controller and backplane. I am currently running a BPN-SAS3-826EL1 backplane connected to an LSI 9500-8i HBA.
My primary goal was to maximize power savings without sacrificing performance. I discovered that the newer BPN-SAS3 backplane actually consumes about 9 Watts more than the older SAS2 model. To offset this, I needed a highly efficient controller.
Moving to the LSI 9500-8i was a game-changer for thermal and power management. Here is how it compares to my previous controllers:
| Model | Power Consumption (approx.) | Temperature (in my case (literally lol)) |
|---|---|---|
| LSI 9305-16i | 16.2 W | ~100°C |
| LSI 9400-16i | 11.95 W | ~70°C |
| LSI 9500-8i | 5.96 W | ~50°C |
The 9500-8i runs drastically cooler and uses a fraction of the power, effectively neutralizing the increased power draw of the SAS3 backplane.
Why ZFS?
ZFS is the heart of my storage system. I didn't just choose it; I fell in love with it. For most of my life, disk failure meant high stress and hoping my backups were fresh enough.
Data Integrity That Actually Works ZFS checksums everything - every single block of data. It constantly verifies that your data hasn't silently corrupted. If corruption occurs and you have redundancy, ZFS repairs it automatically.
My Storage Architecture:
- SATA HDDs: Primary storage pool (RAIDZ1 with 4 drives).
- SATA SSD: L2ARC (Read Cache) - repurposed consumer drive.
- SATA SSDs: High-speed pool for latency-sensitive data (RAIDZ1 with 3 drives).
- RAM: Primary ARC (Read Cache) - 64GB allocated.
The performance difference is incredible. Frequently accessed files are served instantly from RAM or the SSD cache, while the HDDs handle bulk storage. It really is the best of both worlds.
Drive Health Monitoring
I take drive health seriously - perhaps obsessively. I need to know the moment a drive starts acting up, not after it’s dead. My monitoring strategy consists of three layers:
1. SMART Tests & Immediate Alerts
I use smartd to monitor the drives continuously. Short tests run twice a week, and long tests run bi-weekly. I receive immediate email notifications the second an anomaly is detected, alongside health reports (there is nothing better than seeing a row of green "PASSED" statuses).
2. Custom LED Integration
Leveraging a professional chassis meant I could utilize hardware indicators. I wrote a custom script that integrates smartd with the chassis backplane. When a drive begins to fail, the script automatically triggers the red LED on the specific drive caddy.
This makes identifying the physical drive for replacement instant and error-free. In my old setups, I had to shut down the system and physically remove drives one by one to check serial numbers. Now, I just look for the red light.
3. ZFS Pool Scrubs
Monthly scrubs verify data integrity across all pools. ZFS reads every block, checks checksums, and heals any corruption found.
This combination allows me to catch failing drives weeks before total failure. I usually see reallocated sectors climb, get an email alert, walk over to the rack to spot the red LED, and hot-swap the drive - all while the array remains online and redundant. It is proactive rather than reactive.
Modular Nginx Configuration
Over the years, I've built an Nginx configuration system I'm genuinely proud of. It is completely modular, reducing new site deployment from minutes to seconds.
Each module handles a specific function: SSL configuration, security headers, PHP processing, error handling, cache or static file serving. When deploying a new site, I simply include the relevant modules. No copy-pasting, no forgotten security headers, and no inconsistencies.
Security: Layered Defense
Security is where things get interesting. I rely on Fail2ban to watch for three primary threat vectors:
- Unauthorized access: SSH brute force, HTTP auth failures.
- Bot behavior: Aggressive crawlers and vulnerability scanners.
- DDoS patterns: Excessive request rates and HTTP floods.
Network Architecture: VPS as a Shield
I used to run this server from home with a static IP, sitting directly behind a MikroTik firewall. It was simple, but I eventually lost my static IP.
For a while, I used a small VPS with WireGuard and HAProxy to tunnel traffic. Recently, I switched to running Nginx directly on the VPS. This allows me to utilize Nginx caching upstream; frequently accessed content is served directly from the VPS, reducing load on my home server and speeding up response times for visitors.
The Synchronization Logic Here is the clever part: Fail2ban on my home server synchronizes its ban list with the VPS. If an IP gets banned at home, it gets blocked on the VPS, saving bandwidth.
However, when content is served from the VPS cache, the request never reaches my home server, meaning no local access log is created. To eliminate this blind spot, I configured rsyslog to append the VPS Nginx logs to the home server via the WireGuard tunnel. Fail2ban consumes both local logs and the appended VPS logs, giving it full visibility regardless of which server handled the request.
Geoblocking
The real innovation is geographical blocking. Instead of the standard Nginx GeoIP module (which I used when I had static IP), I use iptables with xtables on the VPS. This drops packets from specific high-risk countries at the kernel level before they can even reach Nginx or consume meaningful resources.
UPS Integration
To ensure the server survives power instability, I’ve integrated a UPS using NUT (Network UPS Tools). Years ago, I relied on a primitive APC unit that lacked data communication; when the alarm sounded, I literally had to sprint to the server to shut it down manually.
That relic eventually died, so for this build, I insisted on a model with USB connectivity. I settled on a Green Cell UPS. While the initial configuration was tricky, I finally got it communicating perfectly. Now, the server handles power loss gracefully - no sprinting required.
What This Setup Has Taught Me
Building this infrastructure piece by piece has been an incredible learning experience. I've dealt with filesystem corruption, network intrusions, hardware failures, and countless configuration challenges.
The modularity I've built into every layer - from Nginx configs to network architecture - isn't just about convenience; it's about resilience. When something breaks (and it will), I can isolate the problem quickly. When I need to scale, I can modify one component without rebuilding the whole stack.
Final Thoughts
Is this overkill for a home setup? Maybe. Could I run everything on a cheap VPS? Almost (though good luck finding cheap multi-terabyte storage).
But that misses the point. This server is a playground. Every component, config file, and security rule represents a problem I encountered and solved. The knowledge gained from building and maintaining this is invaluable.
Plus, there is something deeply satisfying about hot-swapping a failed drive from an enterprise chassis while ZFS automatically resilvers the array. That feeling never gets old.
Comments (0)
Leave a comment
Loading comments...